I said this was going to be job one on my "Little Things" list this month! ;) I don't know how long it's been since Jason and I have owned a mouse pad. And the harder I think, the more I'm realizing that we may have never owned a mouse pad. Our first computer desk was a cheap-o corner unit we bought at Wal-Mart for $50 just so we wouldn't have to sit on the floor anymore. Desk two was the lovely old industrial thing that I turned into my sewing table. Neither of which had surfaces that I really cared about marring with the constant to and fro of a mouse. But after buying the great beauty of a desk we have now, I suddenly cared.
After looking at some of the store bought varieties (which ranged anywhere from $9 to over $20) I figured I'd give it the old college try and make one myself. We had an old promotional one lying around (you know? those ones that you get for free and you hang onto even though you know you'll never actaully use it?) so I grabbed some of my scrap fabric and went to town!
Supplies:
- A mousepad that's seen better days
- Fabric
- Mighty Mendit
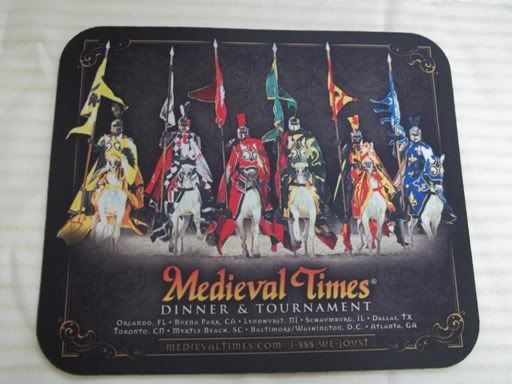
Decide what your base is going to be. I find that just covering an old mouse pad is best because it already has the gripper on the underside. I used this one.
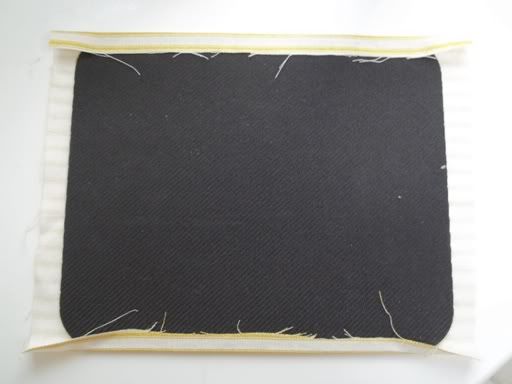
Decide what fabric to use. I grabbed some of my leftover yellow ticking stripe since it would match with the sewing chair that also lives in our computer room.

Cut the fabric to size, leaving about half an inch to an inch of over hang on each side.

Using your Mighty Mendit...
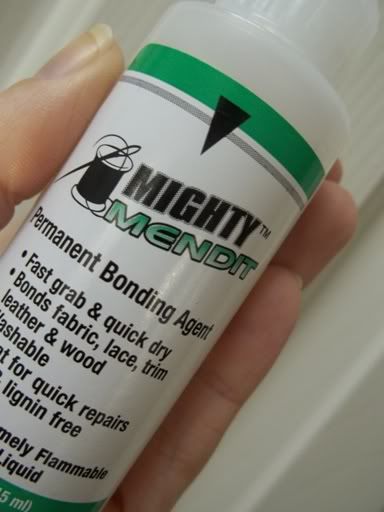
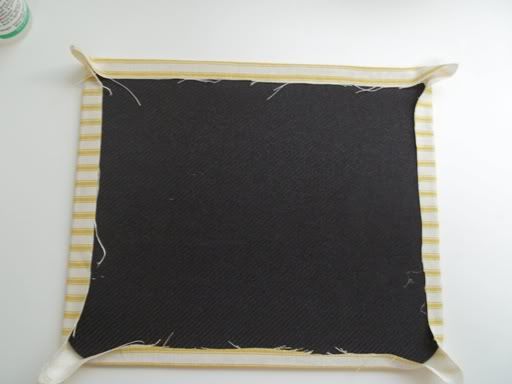
Or any extra strength adhesive, start gluing down the edges. I did the longer sides first. Be sure to pull the fabric taught, but not tight. The mouse pad will fold up on itself if you secure the fabric too snug.
Next, glue the short sides down. The corners should all still be sticking straight up.
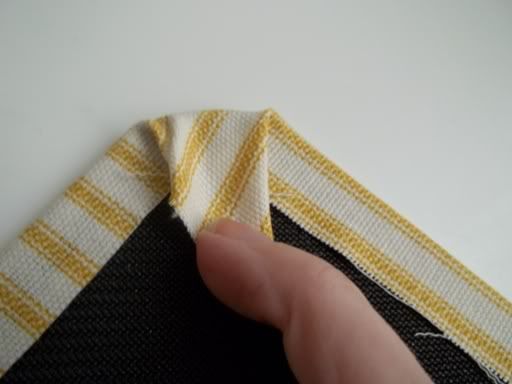
Tuck in the sides of the corners and fold them over, securing with your adhesive as you need. Repeat for all four corners.
Smile and preen over your new pretty mouse pad.
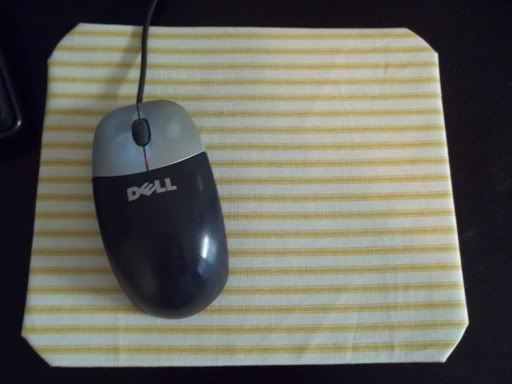
Total cost was a big fat zero since I had everything on hand. Loving it.
After looking at some of the store bought varieties (which ranged anywhere from $9 to over $20) I figured I'd give it the old college try and make one myself. We had an old promotional one lying around (you know? those ones that you get for free and you hang onto even though you know you'll never actaully use it?) so I grabbed some of my scrap fabric and went to town!
Supplies:
- A mousepad that's seen better days
- Fabric
- Mighty Mendit
Decide what your base is going to be. I find that just covering an old mouse pad is best because it already has the gripper on the underside. I used this one.
Decide what fabric to use. I grabbed some of my leftover yellow ticking stripe since it would match with the sewing chair that also lives in our computer room.
Cut the fabric to size, leaving about half an inch to an inch of over hang on each side.
Using your Mighty Mendit...
Or any extra strength adhesive, start gluing down the edges. I did the longer sides first. Be sure to pull the fabric taught, but not tight. The mouse pad will fold up on itself if you secure the fabric too snug.
Next, glue the short sides down. The corners should all still be sticking straight up.
Tuck in the sides of the corners and fold them over, securing with your adhesive as you need. Repeat for all four corners.
Smile and preen over your new pretty mouse pad.
Total cost was a big fat zero since I had everything on hand. Loving it.
No comments:
Post a Comment
Thanks for visiting my little slice of the internet! Comments, questions, and feedback are greatly appreciated and I'll do my best to answer (or input) on anything you have to say.
Oh, and FYI: snarky, mean, abusive, or comments meant to start arguments will not be published. This is my happy place. I'd like to keep it that way. :)